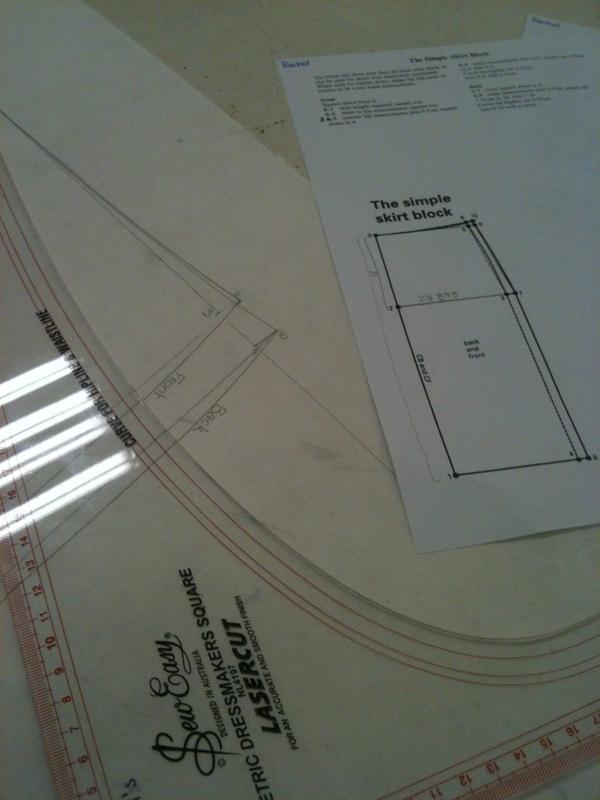
Weeks 1 and 2 have been about drafting a basic "easy fit" skirt block. After spending the beginning of the first session learning about taking accurate measurements, and then taking our measurements in pairs, we set to drafting a very basic straight skirt with an elastic waistband. In the second session we made up toile's of our skirts, and if applicable made alterations.
I was still a little cautious of the course at the beginning as there was quite a lot of discussion of standard sizing, and when we took our measurements we were then asked to pick our closest standard size and make note of our variations from it.
While I'm not interested in making things to standard sizing, but want to make it to my personal sizing, it was an interesting exercise to see how my sizes measure up in relation to the "Australian Standard". Overall I'd probably be a 12, with my bust falling into a size 12, however my hips are a size 16, but my shoulders and arms are off the bottom of the scale (which goes down to a 6) - pear shaped much?!
Thankfully the relevance of the class picked up once we started drafting, as the skirt pattern didn't give any mention to standard sizes' but was purely based off our measurements - our waist, hip and 'waist to hip' measurements to be precise.

After drafting the block we traced it off, added seam allowances and checked the accuracy of our drafting by walking the seam lines - mine was bang on! Hooray! Then it was onto making the toile.
As I would have predicted based on my experiences hemming skirts, my skirt was slightly shorter at the back than it was at the front. While in the past I have just hemmed it so that it sits at an equal height from the floor when wearing it, this isn't really the 'proper' way to do it - especially if you want to use a border print for example. Our teacher Maida told me how to alter the pattern properly - and it's to add extra to the skirt near the bum, rather than at the bottom. You can see my alteration here, my skirt was 1.5cm shorter at the back, so that's how far I spread the pattern, after drawing a diagonal line from the very top of the side seam (as to not interfere with the side seam curve):
You can see my second toile after making the alteration here (sadly I don't have a before pic for comparison):
You'll have to believe me, that now the skirt sits level with the floor at the front and the back.
It's encouraged (but not part of the actual course) to now use our block to make a garment with the pattern to test out our drafting skills properly, but I'm completely at a loss of how to modify this pattern into a design that would be comfortable and flattering and to my style... I'm not usually an elasticated waistband kind of girl!! Any ideas?


These classes sound great Rachel! Here I was adding extra to the back of my skirts when I should have been doing it the way you just learnt and showed (thanks for that!).
ReplyDeleteI'm still a little lost making skirts I like and actually wear so no suggestions but I hope you come up with something!
Oh it's going to be so useful for you and thanks for sharing...
ReplyDeleteI couldn't refrain from commenting. Very well written!
ReplyDeleteMy web site ... orange county house cleaners
The next step is to learn how to add darts to the back and front of your skirt pattern, to take in the gathered fabric, and then to add a regular waistband with a button or other closure. There are some great books on pattern-making that can help, or compare your new customized pattern to a commercial pattern and work from there.
ReplyDeleteCould you make a waist band and then pleat the fabric into it?
ReplyDeleteWould you recommend the class? I am interesting in pattern making...
What about darts at the waist, a side zip and a faced waistband.
ReplyDeleteI second Gail's suggestion to dart...
ReplyDeleteThis is going to be such a useful exercise and I think you will find the comparison bit you mentioned first both relevant and helpful when it comes to adapting commercial patterns for yourself :)
I'm at DQ on Mondays during the day for sewing lessons- I must just miss you!
ReplyDelete