Sunday, October 21, 2012

Great Stuff... #4

I spent quite a few hours this morning catching up on my blog reading (over 300 posts, phew!) so thought it was time to put together another 'great stuff' post...

Enjoy!

Friday, October 19, 2012

Patternmaking Classes - 1&2

I've recently started some patternmaking classes on Monday evenings. They're run at The Dancing Queen in Fitzroy. I've started off with the 6 week "Patternmaking 1" course, which covers the basics of pattern making and we practice the basic principles by making some basic 'unfitted' blocks.

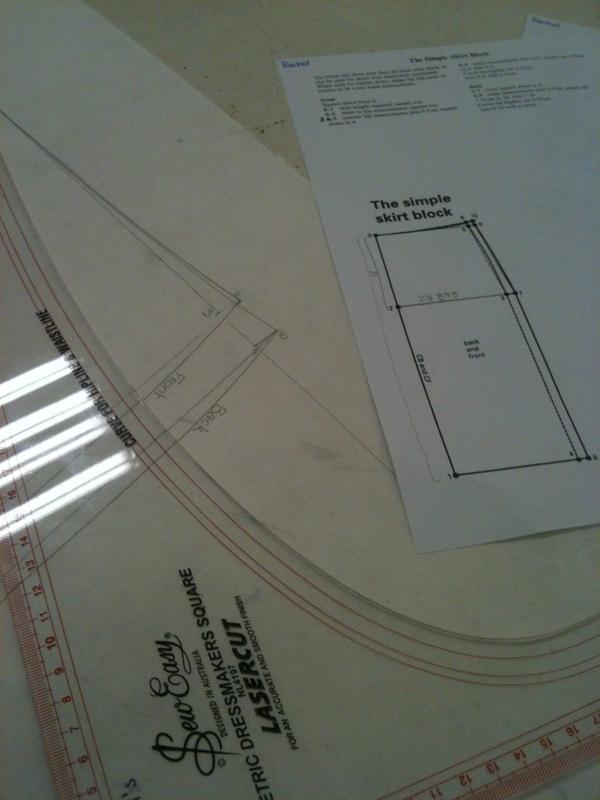
Weeks 1 and 2 have been about drafting a basic "easy fit" skirt block. After spending the beginning of the first session learning about taking accurate measurements, and then taking our measurements in pairs, we set to drafting a very basic straight skirt with an elastic waistband. In the second session we made up toile's of our skirts, and if applicable made alterations.

I was still a little cautious of the course at the beginning as there was quite a lot of discussion of standard sizing, and when we took our measurements we were then asked to pick our closest standard size and make note of our variations from it.

While I'm not interested in making things to standard sizing, but want to make it to my personal sizing, it was an interesting exercise to see how my sizes measure up in relation to the "Australian Standard". Overall I'd probably be a 12, with my bust falling into a size 12, however my hips are a size 16, but my shoulders and arms are off the bottom of the scale (which goes down to a 6) - pear shaped much?!

Thankfully the relevance of the class picked up once we started drafting, as the skirt pattern didn't give any mention to standard sizes' but was purely based off our measurements - our waist, hip and 'waist to hip' measurements to be precise.


After drafting the block we traced it off, added seam allowances and checked the accuracy of our drafting by walking the seam lines - mine was bang on! Hooray! Then it was onto making the toile.

As I would have predicted based on my experiences hemming skirts, my skirt was slightly shorter at the back than it was at the front. While in the past I have just hemmed it so that it sits at an equal height from the floor when wearing it, this isn't really the 'proper' way to do it - especially if you want to use a border print for example. Our teacher Maida told me how to alter the pattern properly - and it's to add extra to the skirt near the bum, rather than at the bottom. You can see my alteration here, my skirt was 1.5cm shorter at the back, so that's how far I spread the pattern, after drawing a diagonal line from the very top of the side seam (as to not interfere with the side seam curve):


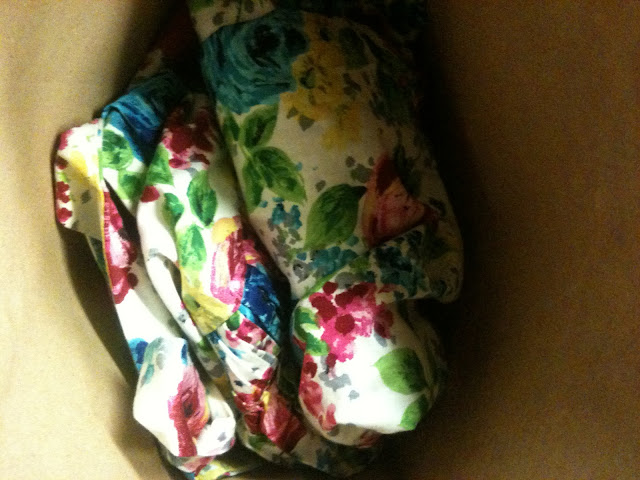
You can see my second toile after making the alteration here (sadly I don't have a before pic for comparison):


You'll have to believe me, that now the skirt sits level with the floor at the front and the back.

It's encouraged (but not part of the actual course) to now use our block to make a garment with the pattern to test out our drafting skills properly, but I'm completely at a loss of how to modify this pattern into a design that would be comfortable and flattering and to my style... I'm not usually an elasticated waistband kind of girl!! Any ideas?

Tuesday, October 16, 2012

Social Sewing - October - Are you in?


The next date we've organised for some Social Sewing is less than 2 weeks away, so I thought I'd post up a quick reminder about it.

Here are the details:

  • Date: Saturday 27th October
  • Location: GJs Discount Fabrics, in Brunswick- they have a big workroom with big tables and lots of floor space, power points and light. You would need to bring your own machine. 
  • Time: 9-4 (their opening hours, but you can come for as much or as little of that as you like) 
  • Cost: $10 per person (paid to GJs when you arrive) 

If you could please let me know if you're planning on coming by comment or email so I can keep GJs in the loop as to a vague idea of how many of us to expect.

Please feel free to pass on the information to other Melbourne sewists who might be interested in coming along.

I look forward to seeing you there!

(If you can't make it to this one, there is another one scheduled for the 17th of November as well)

Monday, October 15, 2012

Rooibos - Finished?

This weekend, for what feels like the first time in AAAAGES, but in reality is more like the first time in two weeks, I had the chance to sit down and do some clothes sewing. On Friday evening I got together with some lovely friends for a sewing evening and I made really good progress on my Rooibos dress that I'd cut out at the Social Sewing day.


On Friday evening I managed to get all of the pieces together and the zip in, leaving only finishing the neck and arm holes and the hem, which I did on Sunday morning/lunchtime. I didn't do the facings for the pattern, so I finished the neck and arm holes with bias binding, using Tasia's technique from the Pendrell blouse that I also used on the Portrait Blouse. However, as I had corners on the neckline, I had to add a new skill to my repertoire; bias binding on inside corners. For which I used this very good tutorial on the topic.


I am absolutely thrilled with the fit of this dress, it's the second pattern that I've tried actually doing a FBA on and it worked fantastically (above pic shows FBA in progress). I used the tutorial for the Rooibos FBA on the Colette Patterns blog, starting with the bodice size based off my high bust measurement and adding in about 1". I did however still need to add in some extra fabric at the side seams (when I was making my muslin I used a method very similar to Rachel's "fitting insurance" method) which I was glad I'd done. Once I'd worked out the fit of the bodice pieces, I worked out which midriff pieces to cut based on the  measurement around the bottom of the bodice pieces.


Here's a summary of the fitting changes I made to the dress:
  • Added a 1" FBA to size 4 bodice.
  • Extended the weird stubby back bodice darts about 3" in length.
  • Added 5/8" to the side seam on the front of the bodice.
  • Added 3/4" to the side seam on the back of the bodice.
  • Added an extra 5/8" length to the bottom of the front bodice (and I probably could have added a smidge more).
  • Removed some of the curve in the midriff piece.
  • For the back midriff cut size 8, for the front midriff cut size 6.
  • For the back skirt cut size 8 at the top, tapering down to size 10 8" below the seamline.
  • For the front skirt cut size 6 at the top, tapering down to size 8 8" below the seamline.
  • Pinched out about 1cm from back neckline near shoulder blades, tapering to nothing at the arm hole (see below pic for why).
  • removed the little collar thingy (as I didn't have a nice contrasting fabric, I will include it next time hopefully).
Having now worn the dress for a while, the the only other thing I think I'd change is to make the front arm holes a little bigger as it digs in a tiny bit at some angles.


The fabric I used is a printed poplin that I bought at Spotlight at the beginning of the year. Even after washing it was still quite stiff so I was worried that it wouldn't really work for a dress, so I underlined the fabric with some white voile from GJs that does have lovely drape, which I think has made just that bit of difference. Hopefully it'll continue to soften up as it's washed too.


I wore the dress last night to dinner and then today to work and it's super comfy and hasn't become too obviously creased. The pockets really are fantastic too! However, as the title of this post suggests, I'm not 100% convinced the dress is finished. I'm not usually one for adding trim (I don't think I've ever added any trim to anything I've made), but the design lines of the dress are lost in the busy print, and I think adding something to highlight them would make the dress more interesting and more flattering.


So, while at my pattern making class this evening (more on that soon, I promise!) I bought some relatively simple black trim to try (the flowers are outlined and detailed with black on the fabric so black isn't a stupid choice). I already pinned it onto the dress in the store and think it really improved the look of the dress. So I shall add it on and report back with new pics!


Excluding potential trim additions however, I already love this dress! It's very similar in silhouette to some of my favourite and most worn dresses, and has fantastic pockets! I definitely see some more of these dresses in my future!

Thursday, October 11, 2012

Balcony Garden - Week 5 - Good & Bad

My garden is still going well, and this week I really feel like it "leveled up" as I added little bamboo tee-pee's to the mystery pea and yellow boy tomatoes from Helen. I also bought a Cherry tomato plant and some Thai Chilli seedlings, and planted some more basil, some coriander and some carrots.

The reason for the tee-pees was that the mystery pea plant pretty much doubled in size in a week, appearing to grow about two inches each day - I'd come out each evening and be surprised how much it had grown in the previous 24 hours! Here it is one week apart (from slightly different angles so it's tricky to see, but it's about double the size at least):


However, not everything is going swimmingly, and I was hoping somebody might be able to suggest what's gone wrong here, but my oregano is looking REALLY sad. I noticed last week that about 2/3 of the oregano plant has died, and then today it's looking even worse again. Below are a series of photos of the oregano:


(22nd September)


(30th September)


(4th October)


(7th October)


(10th October)

What have I done to it???! It looks like it was doing fine until I added the mulch, but I thought mulch was supposed to be good the plants?! when I first noticed I stuck my finger in the soil to check they had enough water (although they're in a self watering pot) and it felt relatively dry, so I've been watering from the top rather than just adding water in the bottom like the pot says, but it doesn't seem to have helped. I haven't watered it too much I don't think either. I have fed the plants with seasol seaweed extract at fortnightly intervals (as instructed on the bottle), but surely that's not bad for it?  I've closely examined the other herbs that are in the same tub (Rosemary, Thyme and Sage) and they're all doing great (the thyme in particular is doing really well).

Anyone? Help! Please!

Wednesday, October 10, 2012

Love Vintage Show

Last Friday I went on a very exciting trip to the Love Vintage show with the lovely Kase, Kat and Mindy. It was heaps of fun. There was so much beautiful stuff there! Some of it very reasonably priced and some of it reeeeally expensive!


I went along intending on just looking around and hanging out with some awesome ladies, which certainly happened. But I also came home with a BEAUTIFUL vintage sundress that fit me perfectly! It was from the lovely lady at Audrey Scarlett Vintage who sneakily persuaded me to try it on while I was admiring it, and when it fit so well there was no way I wasn't taking it home with me! I don't have any pics of me in the dress yet, but I will definitely share them when I do.

Below is the lovely Catherine from Audrey Scarlett Vintage, with Kase and Kat:


Also one last quick pic of a label for a different dress on the same stall, I just HAD to snap a pic when I saw the "yay pockets!" comment! hehe! So true!!!


Thanks for a fab evening girls, and particular thanks to Kase for inviting me along :)

PS: You all need to get on Kase's back about blogging, as I think she'd be really good at it, she just needs to jump in and do it!

Tuesday, October 9, 2012

DUDQS3 - Finished!

A couple of days late because I suck at reading the calendar (but hopefully sending it express post will make up for it), I have finished my quilt for the Down Under Doll Quilt Swap.


I quilted by hand with some white perle 8 thread. Which while looking lovely close up and making it beautifully drapey and soft makes it very hard to photograph!


I did lines in the ditches between the dresden petals, continuing straight out, and then echoing out from the edge of the dresden, with an increased gap between each echo.


The finished quilt measures 17" x 19", and I used bamboo batting in the middle. Everything was hand stitched except sewing the binding down, which was done on machine (although the back was hand stitched down).


On the back I used this relatively simple peachy floral fabric that was just the right tone to match the pinks on the front.

Partner, I hope you like it. And apologies again for the slight delay.

Thursday, October 4, 2012

Great Stuff... #3

Today I thought I'd post another collection of links that I've seen around the internets and thought worth sharing, I hope you enjoy...

Sunni is working through an "everyday wardrobe gameplan" which is well worth following along if you find you sew stuff and then don't end up wearing it very much.
This tip for marking darts has transformed things for me.
Andi has released a new sweater pattern, the chuck sweater, and it's gorgeous!
And k-line has already knit one up!
Have you got one of those japanese (or english translation) pattern magic books? Maybe you should join in with the pattern magic challenge.
You're not convinced, look at these amazing spiral leggings that Carolyn has made from one of the pattern magic books.
These 10 signs you're a fabriholic are a great read, as are  and these 5 more signs
Stitched in color has posted a really interesting Craft Show Series recently
Poppykettle has posted a fantastic method for sewing miniature hems
And while we're talking about great tips, this tip for tracing out patterns from carolyn is genius!
And lastly, foursquarewalls has posted a great cardigan that she made by modifying the renfrew pattern.

I hope your weeks are going well!

Tuesday, October 2, 2012

Balcony Garden - Week 4 - Comparisons

There's been steady growth in the garden this week, but nothing much new and exciting. I have however added mulch to the pots to reduce water loss. So, I thought this week for my balcony garden update I'd mostly do some comparisons of how the plants have grown over the last month.

First up are my herbs, from left to right sage, thyme, oregano and rosemary. The top pic was taken on the 3rd of September a couple of days after I bought the seedlings, and the bottom taken on the 30th. (I have used some of all of the herbs except the sage):


These are my strawberry plants, again the first photo was taken on the 3rd of September, the second on the 30th. All the plants have flowers on them now. The one on the left, which is a red gauntlet, has 10-15 flowers that are turning into strawberries!! The one in the middle is a wild strawberry and has a couple of flowers (growing straight up the middle sticking into the air, you can just see one in the middle at the top of the photo). The one on the right is a Lowanna and has 3 or 4 flowers at the moment (growing at the bottom hidden by the leaves)


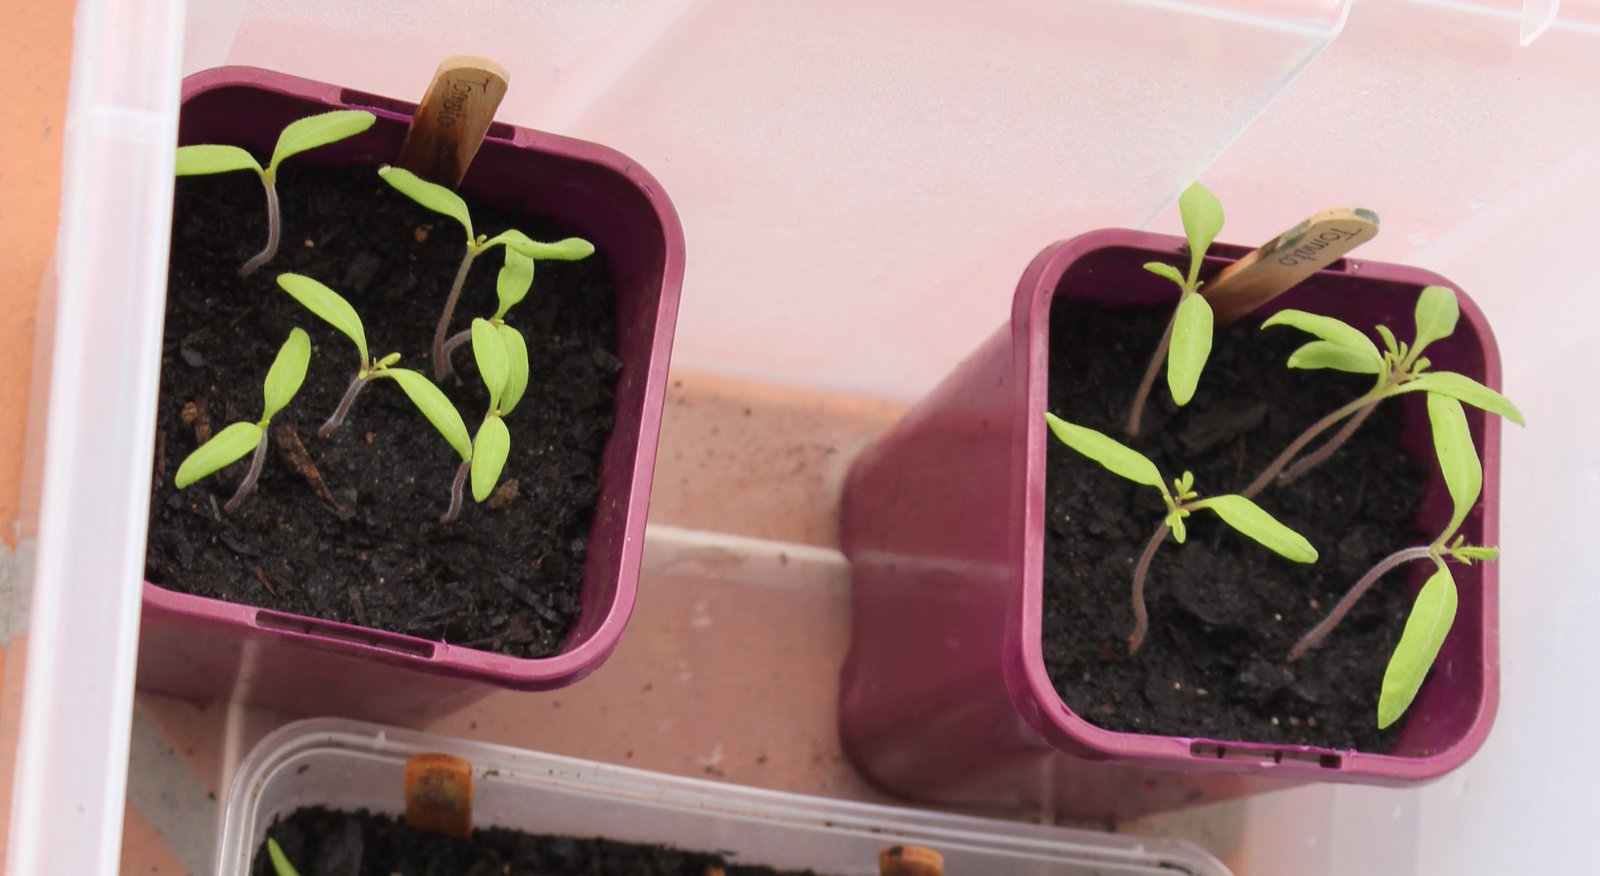
These are the tomatoes that I've grown from seed (which I'm still thrilled about!). The seeds were planted on the 2nd September, the top photo was taken on the 16th September, the middle photo taken on the 22nd September and the bottom photo taken on the 30th September.


These are the tomatoes that Helen kindly gave me. The top photo was taken on the 9th of September (when I was given them) and the bottom one taken on the 30th.


This is the "mystery pea" that Helen gifted me, the first photo was taken on the 9th of September, the second on the 30th. (In the second picture you can see that I've planted one of the butter bean seedlings I've grown in the same pot - as the bean is a bush bean and the pea a climber I figure this should be ok and make good use of the vertical space)


That's all the comparison shots I have for today, but here are some general progress shots of other things I have growing (these were all taken on the 30th Sept):

Perpetual Spinach

Dwarf Sugar snap peas (grown from pea/seed - planted on 8th Sept)

Green beans (grown from bean/seed, planted on 8th Sept)

Mixed Lettuce (grown from seed, planted on 8th sept)


Various seedlings (Lobelia and marigold planted on 2nd September, capsicum, scallions and basil planted on 8th September)

Various seedlings (marigold, lobelia and rocket planted on 2nd September)

The new shoots on the lime tree are doing really well.

Hopefully you've found this post at least a tiny bit as interesting as I have - I think it's interesting seeing how much some of the plants have grown in a month (and wow has that month flown by!). I got some more big pots today too, so once the tomatoes are a little bit bigger I'll plant them into those, and I think I'll get a cherry tomato seedling (I LOVE cherry tomatoes!)

One other thing I want to grow are Chillis, but I got completely overwhelmed at CERES looking at the seedlings as there were so many different kinds to choose from! Does anybody have any recommendations?

Monday, October 1, 2012

Miette - Tiny Whoops!

Not one to only show you my successes, I thought I'd share with you a failure / oops today.

This little tale begins last night when I was tidying up my knitting stuff. Earlier yesterday I had finally gotten around to looking up how to do a stretchy cast off, and had cast off the bottom edge, and ends of the sleeves of my cardigan. Each sleeve used up a little under a ball of yarn, so there were two small piles of mostly unravelled yarn where I had been sitting doing my knitting; one from each sleeve. To tidy up I balled up those two piles, at which point I noticed something funny, can you spot what it was:


Yup, my two little balls were different sizes; whoops!! I got out the cardigan again, and laid out the sleeves flat, and lo and behold the sleeves are different lengths! Now, I will admit I did loose count of how many rows I'd done while I was knitting up the sleeves, but I tried my best to check the length of the second against the first as I was going, and definitely before I started the lace rows! I don't know how it happened but the sleeves are about an inch different in length!


I spent most of today hoping that it wouldn't be too noticeable once I was wearing the cardigan, and this evening while watching some TV finished off the button and neck band and tried it on... unfortunately the different is a bit much and I don't think I'll be happy with the cardigan unless I fix it. Here it is on me; you can particularly see where my elbows are bent the difference, on one my elbow is where the lace is, on the other the lace is on my forearm:


And here it is with my arms down straight - you can definitely tell the difference:


So now I need to go back and fix it... problem is, I don't know how!

Does anybody have any advice on the best way to go about unravelling the shorter sleeve back to the beginning of the lace (bearing in mind I've cast of and woven in my end)? And any easy/good/accurate methods for working out how many rows I need to add in to make them the same length?

Also, any tips/methods (or gadgets) for keeping track of how many rows you've done when the pattern requires heaps of stockinette rows like the sleeves did?

All help very gratefully received!
Related Posts Plugin for WordPress, Blogger...