

Our finished wallets!
This past Friday at the MMQG Sit and Sew Evening Bek agreed to teach me and Jocelyn how to make wallets. You see, she had made a beautiful one before but was talking about replacing it, and very kindly agreed to save making one for a sit and sew so we could join in too. It turns out the tutorial that she followed is very well written and we didn't really need teaching, but it was nice to have the moral support!

Now due to how much we all natter on at the sit and sews we didn't quite get them finished on Friday night, so the girls popped over to my flat this evening to finish them off. We all squeezed around the tiny little table I currently have (see above)(which was ok since wallets are small) and finished them off pretty quickly.

The inside of Jocelyn's wallet

The inside of my wallet
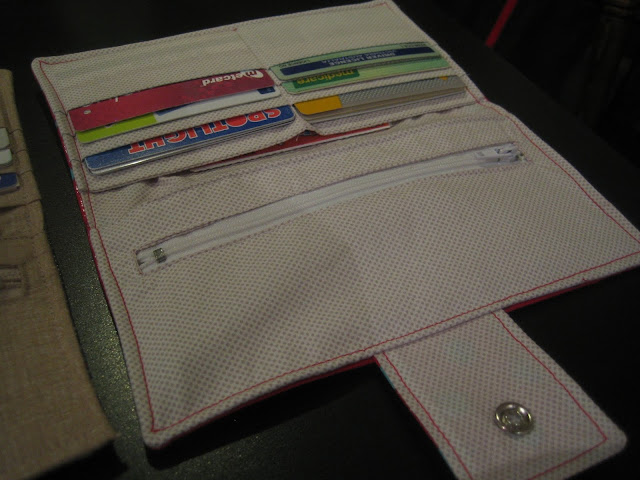
The inside of Bek's Wallet
We couldn't find the tool kit to use a hammer to put in the snaps, but it's ok, we improvised!


The girls both used some spotty Oil cloth that Bek had for the outside of their wallets, but I tried something different. I used some regular quilting cotton (some Japanese stuff my Gran had given me) and some iron on Vinyl that I bought at GJs. It is a bit like sticky back plastic for fabric and seems to be pretty good. It ironed on really well, I had no issues at all with any bubbles or puckers or anything. I'm not 100% sure how hard wearing it'll turn out to be, time will tell on that.

Left to right: Jocelyn's, Mine, Bek's
One thing that came up when we were sewing that I thought I'd share was something to do with the 1/4" foot that comes with many machines. Below is pictured my 1/4" foot. (Now ignore the black guide along the right hand side of the foot, I know that some people detest it and rip it off) The part of the foot I want to talk about is the left hand side.

Do you see the three little lines along the left hand side of the foot? The middle one is level with your needle, and the other two are 1/4" in front of and behind the needle. This is really handy if you need to stop your stitching line 1/4" before or after a point, for example 1/4" before the edge of the fabric when you're about to turn a corner.
The girls hadn't registered those lines on their feet, so I thought I'd share about it on here too incase anyone else hadn't seen it. My foot is for a Janome, does anybody know if there are similar markings on feet for other machines? Had you spotted those lines on your foot? Are there any similar tips for other feet that you know of?

Thank you so much for sharing this reference. I want to whip out of batch of these - perfect presents for all the sixteenth & seventeenth birthday parties my daughter is going to this year.
ReplyDeleteThe information you shared is very interesting.This site is excellent,I am impress with your ideas. Thank you for sharing the happiness formula. To be happier, I need to boost my good feelings, put a stop to my bad feelings, and pursue my right feelings. | lidocaine
ReplyDeleteWow they turned out great Bek!!
ReplyDelete